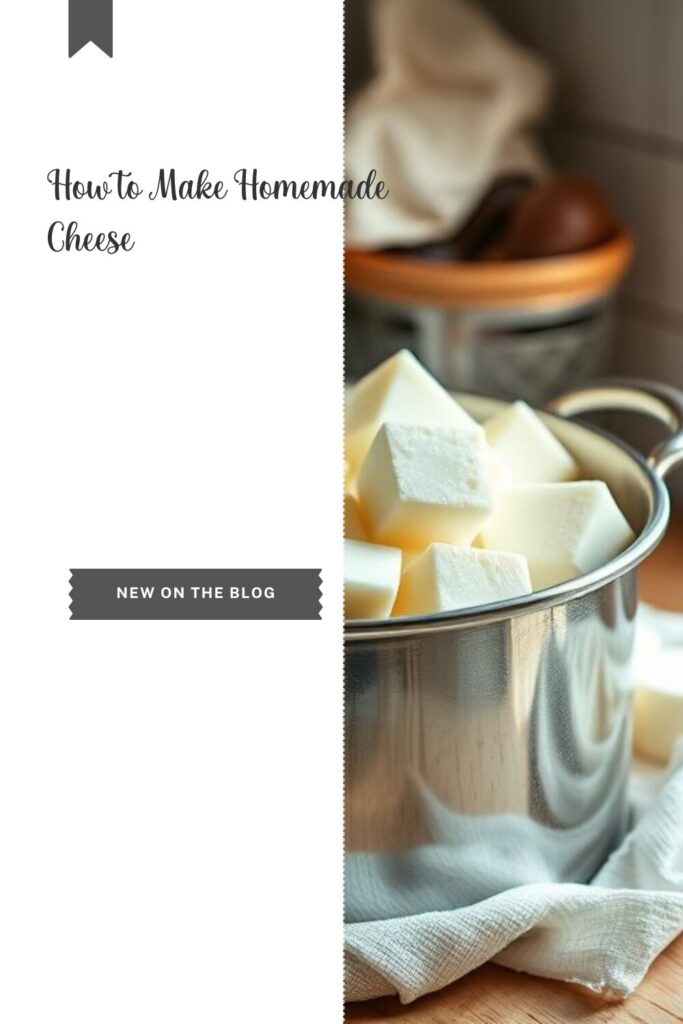
Homemade Cheese Making
There’s something magical about turning simple ingredients into something as rich and satisfying as cheese. If you’ve ever dreamed of making your cheese but felt overwhelmed by the idea, you’re in the right place. Homemade cheese making is easier than it sounds—and incredibly rewarding. Whether you’re homesteading, want to eat more naturally, or love trying new kitchen skills, this step-by-step guide will easily walk you through the basics.

Step 1: Gather Your Equipment
Before you dive in, make sure you have these basic tools on hand:
- Large stainless steel pot (non-reactive)
- Thermometer (digital or candy)
- Cheesecloth or butter muslin
- Colander or strainer
- Slotted spoon
- Long knife (for cutting the curds)
- Measuring cups and spoons
- Optional: Cheese mold and press (for firmer cheeses)
Tip: Most of these tools are already in your kitchen, but if not, they’re easy to find at local stores or online cheese-making shops.
Step 2: Choose Your Cheese
Start simple! Two beginner-friendly cheeses are:
- Ricotta is light, creamy, and ready in under an hour. It’s great for baking or spreading on toast.
- Paneer – Mild, firm, and perfect for slicing or frying. No aging or fancy equipment required.
Once you understand the basics, you can try soft cheeses like mozzarella or even aged varieties like cheddar.
Step 3: Use Quality Ingredients
Cheese is made from just a few ingredients, so quality counts. You’ll need:
- Milk – Use whole milk (preferably non-UHT and from a local source if possible)
- Acid – Like lemon juice or vinegar (for ricotta or paneer) OR
- Rennet – For more complex cheeses like mozzarella
- Salt – Sea salt or cheese salt (non-iodized)
If you’re using store-bought milk, ensure it’s not ultra-pasteurized—this affects curd formation.
Step 4: Heat the Milk
Pour the milk into your pot and slowly heat it to the temperature your recipe requires (typically 180°F/82°C for acid cheeses). Stir gently to prevent scorching. Use your thermometer to monitor the temperature closely—this step is crucial.
Step 5: Add Acid or Rennet
Depending on the cheese you’re making:
- For Ricotta or Paneer: Add your acid (lemon juice or vinegar) and stir gently.
- For Mozzarella or Hard Cheese: Add diluted rennet and let the milk sit undisturbed to set into curds.
You’ll see the milk separate into curds (solid) and whey (liquid). It’s cheese magic in action!
Step 6: Cut and Cook the Curds
Once your curds have formed and passed the “clean break” test (cutting through the curd with a knife yields a clear, clean line), use your long knife to cut them into small cubes. Gently stir and heat them further if your recipe calls for it—this helps firm up the texture.
Step 7: Drain the Curds
Line a colander with cheesecloth and place it over a bowl or sink. Pour the curds and whey into the colander and let the liquid drain. The longer it drains, the firmer your cheese will be.
- For soft cheese: Drain for 5–15 minutes.
- For firmer cheese: you may want to press it for several hours using a weight or cheese press.
Don’t throw away the whey! It’s rich in nutrients and can be used in baking, smoothies, or soups.
Step 8: Salt and Store
Once drained, add salt to taste—this helps flavor and preserve your cheese. You can enjoy yours fresh or refrigerate it for later use. Some cheeses can even be aged for deeper flavor development.
Bonus Tips for Success
- Cleanliness is key: Sanitize your tools to avoid introducing unwanted bacteria.
- Take notes: Jot down what worked (and didn’t) so you can tweak and improve.
- Start small: It’s better to perfect a small batch than waste a gallon of milk on your first try.
Final Thoughts: You Can Do This!
Homemade cheese making is part science, part art, and a lot of fun. It’s an excellent way to connect with your food, get creative in the kitchen, and enjoy something truly handcrafted. Plus, it’s a great project with kids, friends, or anyone who loves a good kitchen adventure.
So go ahead and give it a try. Your first batch may not be perfect, but it will be delicious, and the journey is all part of the charm.


