
The Ultimate Guide to Canning and Fermenting at Home
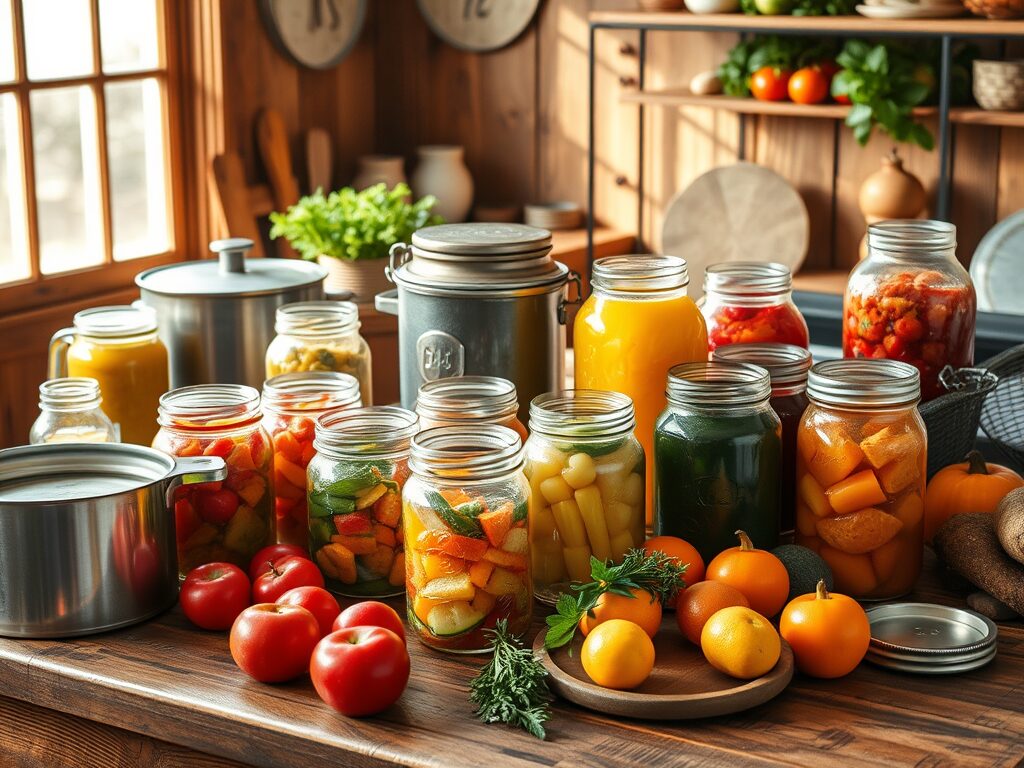
There’s something deeply satisfying about putting up jars of homemade jam or opening a crock of tangy, bubbling sauerkraut you made yourself. Canning and fermenting aren’t just old-fashioned kitchen skills—they’re powerful ways to preserve food, reduce waste, and add incredible flavor to your meals year-round. Whether you’ve got a garden full of veggies, a fridge overflowing with farmer’s market finds, or just a curiosity about doing things the old-school way, this ultimate guide will walk you through everything you need to know to get started with canning and fermenting at home. No experience? No problem. We’ll break it down step-by-step and keep it friendly.

Preserve the Harvest with Confidence and Flavor
Whether growing your food, scoring big at the farmer’s market, or simply trying to cut grocery costs, canning and fermenting are two of the most satisfying ways to preserve what you’ve got. Not only do they help reduce waste and stretch your seasonal bounty, but they also unlock bold flavors and time-honored skills that connect us to past rhythms. This friendly guide walks you through everything you need to know to start canning and fermenting at home—even if you’ve never popped a lid or watched a jar bubble.
Why Learn to Preserve Food?
- Save money by buying or harvesting in-season and preserving the extra
- Reduce waste by keeping surplus food out of the trash
- Build self-sufficiency and peace of mind
- Create pantry staples that are nutritious and delicious
- Add unique, homemade flavor to your meals
Canning vs. Fermenting: What’s the Difference?
Canning uses heat to kill bacteria and seal jars for long-term shelf storage. Think fruit jams, salsa, and green beans.
Conversely, fermenting invites good bacteria (hello, probiotics!) to transform food naturally, creating tangy, zippy flavors. Think sauerkraut, kimchi, and pickles.
| Method | Shelf Stable? | Need a Fridge? | Flavor Notes |
|---|---|---|---|
| Canning | Yes | No (until opened) | Fresh, sweet, savory |
| Fermenting | Sometimes | Often | Tangy, complex, bold |
Tools You’ll Need to Get Started
For Canning:
- Water bath canner or pressure canner
- Canning jars with lids and bands
- Jar lifter and funnel
- Ladle and bubble remover
- Clean towels and labels
For Fermenting:
- Glass jars or fermenting crocks
- Weights or small jars to keep food submerged
- Clean cloth or fermentation lid
- Salt, filtered water, and flavoring ingredients
Step-by-Step: How to Can at Home (Water Bath Method)
- Prep your recipe – Choose a high-acid recipe (pickles, jam, or tomato sauce).
- Sterilize jars – Wash jars in hot soapy water or run through dishwasher; keep warm.
- Prepare food – Cook according to the recipe.
- Fill jars – Use a funnel to fill, leaving proper headspace. Remove bubbles.
- Wipe rims and seal – Clean rims and apply lids and bands.
- Process in canner – Submerge in boiling water for the recommended time.
- Cool and check seals – Let jars rest 12–24 hours. Listen for the “ping!”
- Label and store – Store in a cool, dark pantry up to 1 year.
✅ Best for: Jam, jelly, pickles, peaches, tomatoes, applesauce
Step-by-Step: How to Ferment at Home
- Chop or shred produce – Cabbage, carrots, garlic, beets… almost anything goes!
- Salt it – Sprinkle with sea salt and massage to release juices, or use a salt brine.
- Pack jars – Press tightly into jars, submerging the food in liquid or brine.
- Weigh it down – Use a fermenting weight or small jar to submerge food.
- Cover and wait – Use a cloth cover or airlock lid. Let sit at room temp 5–14 days.
- Taste and refrigerate – Move it to the fridge once it tastes tangy and delicious.
✅ Best for: Sauerkraut, kimchi, garlic honey, beet kvass, fermented salsa
Tips for Success
- Always use clean equipment and high-quality ingredients
- Label everything with the date you made it
- When in doubt, toss it out (bad smells, colors, or mold = not worth the risk)
- Fermentation speeds up in warmer temperatures and slows in cool rooms
- Use kosher or sea salt (not iodized) to avoid interfering with fermentation
Flavor Boosters to Try
| Canning Add-Ins | Fermenting Add-Ins |
|---|---|
| Cinnamon, cloves | Ginger, turmeric root |
| Vanilla bean | Red pepper flakes |
| Lemon zest | Garlic, mustard seeds |
| Fresh herbs | Dill, bay leaves |
Storage & Shelf Life
- Canned goods: Store in a cool, dry pantry. Use within 1 year. Refrigerate after opening.
- Fermented foods: Store in fridge once tangy and bubbly. Most of the last 3–6 months.
How to Know It’s Gone Bad
| Signs to Toss | Common in Canning? | Common in Fermenting? |
|---|---|---|
| Mold growth | Yes | Yes |
| Off smells | Yes | Yes (fermented foods should smell sour, not rotten) |
| Jar did not seal | Yes | N/A |
| Slimy texture | No | Sometimes (means over-fermentation) |
FAQs
Q: Do I need a pressure canner?
A: Only for low-acid foods like meats, green beans, or soups.
Q: How do I know if fermentation is working?
A: You’ll see bubbles, a color change, and a pleasantly sour smell. That’s good bacteria doing their job!
Q: Can I use table salt for fermenting?
A: Avoid it—it often contains anti-caking agents that can affect fermentation.
Final Thoughts
Learning to can and ferment at home brings your table joy, resilience, and flavor. Start small, experiment boldly, and enjoy the satisfaction of preserving food the old-fashioned way—just like our grandmothers did.
Want to dig deeper? Try your hand at small-batch jam, garlic honey, or fire cider. You’ll be hooked in no time.
Leave a Reply